
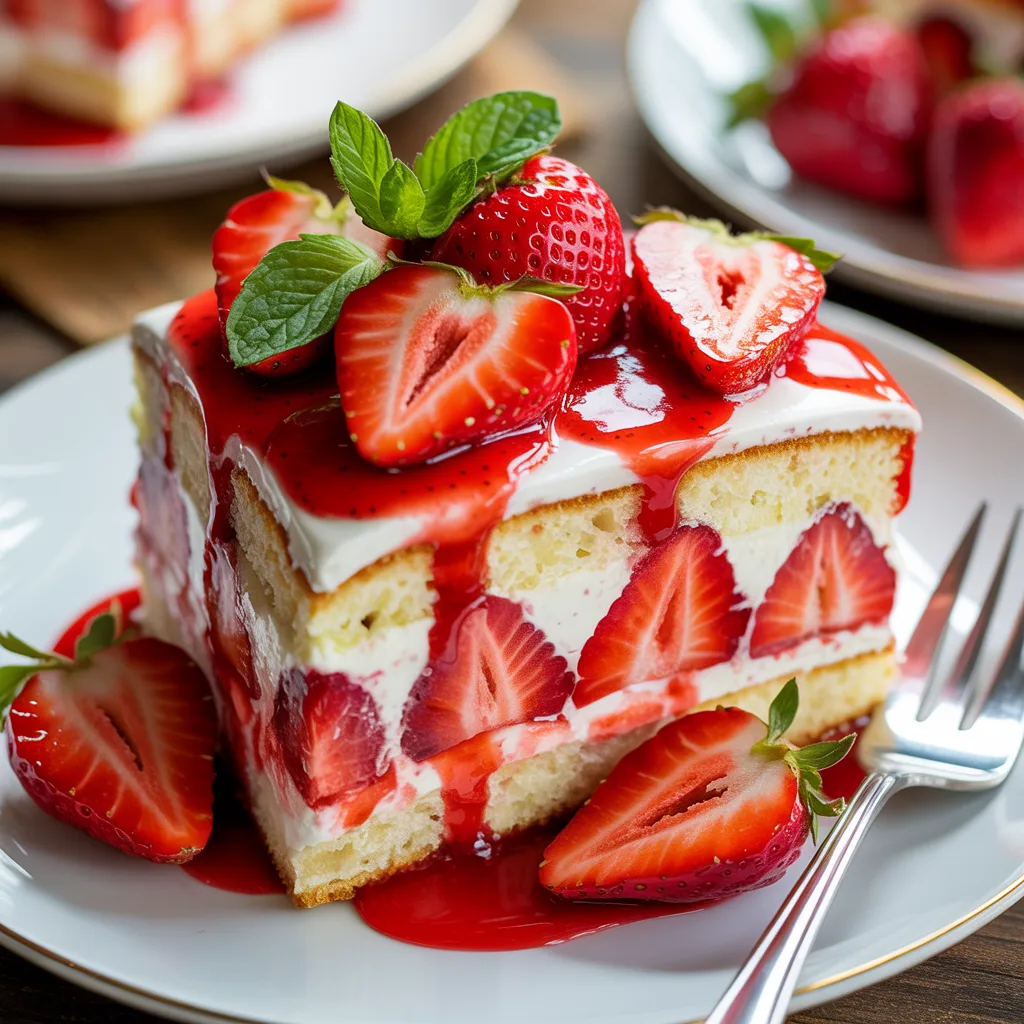
A messy cake that tastes like pure happiness
If you love desserts that look a little wild but taste absolutely amazing, you’re going to fall hard for Strawberry Earthquake Cake. This cake doesn’t try to be neat or fancy. It cracks, swirls, and sinks while baking — and that’s exactly what makes it magical. Every bite gives you gooey cream cheese, sweet strawberries, rich chocolate, and soft cake all in one forkful.
The best part? You don’t need expert baking skills. Seriously. This recipe works even on busy weeknights when you want something cozy without washing half the kitchen. Just mix, layer, bake, and let the oven do the drama. If desserts had personalities, this one would definitely be the fun friend who shows up overdressed and steals the spotlight.
Why This Recipe Is Awesome
This cake wins hearts fast — and not just because of the flavor.
First, it’s incredibly easy. You don’t frost it, stack it, or stress over perfection. The oven creates those signature “earthquake” cracks for you.
Second, it delivers major comfort vibes. Warm strawberries, creamy pockets, and melted chocolate feel like a cozy blanket after a long day.
It also fits real life. Minimal prep. One pan. Easy cleanup. Perfect for family dinners, potlucks, or late-night cravings when you want something homemade but low effort.
Bonus: Every slice looks different, so nobody notices if you cut uneven pieces. That’s a win.
Ingredients You’ll Need
Here’s what makes this Strawberry Earthquake Cake so irresistible:
-
Strawberry cake mix – The shortcut hero. It adds flavor, color, and saves time.
-
Eggs – Help the cake stay soft and structured.
-
Oil or melted butter – Keeps everything moist and rich.
-
Cream cheese – Creates creamy swirls that melt into cheesecake-like pockets.
-
Powdered sugar – Sweetens the cream cheese layer smoothly.
-
Fresh or frozen strawberries – Add juicy bursts of flavor.
-
White chocolate chips – Bring sweetness and creamy texture.
-
Shredded coconut (optional) – Adds chewiness and depth.
-
Vanilla extract – Boosts overall flavor.
-
Butter (for cream cheese mixture) – Makes the filling silky and indulgent.
Each ingredient plays a role. Together, they create layers of flavor without complicated steps.
Step-by-Step Instructions
Step 1: Prepare the Pan
Preheat your oven to 350°F (175°C). Grease a 9×13-inch baking dish well.
Don’t skip this step. The gooey layers love to stick.
Step 2: Mix the Cake Batter
In a large bowl, combine the strawberry cake mix, eggs, oil, and required water from the box instructions.
Stir until smooth. Pour the batter evenly into your baking dish.
Step 3: Add the Flavor Layers
Sprinkle strawberries evenly over the batter. Then add white chocolate chips and coconut if using.
No need to press anything down. The magic happens during baking.
Step 4: Make the Cream Cheese Swirl
In another bowl, beat cream cheese, melted butter, vanilla, and powdered sugar until smooth.
Drop spoonfuls all over the cake batter.
Step 5: Create the “Earthquake”
Use a knife lightly to swirl the cream cheese mixture. Don’t overmix.
Messy swirls = better texture later.
Step 6: Bake
Bake for 40–45 minutes.
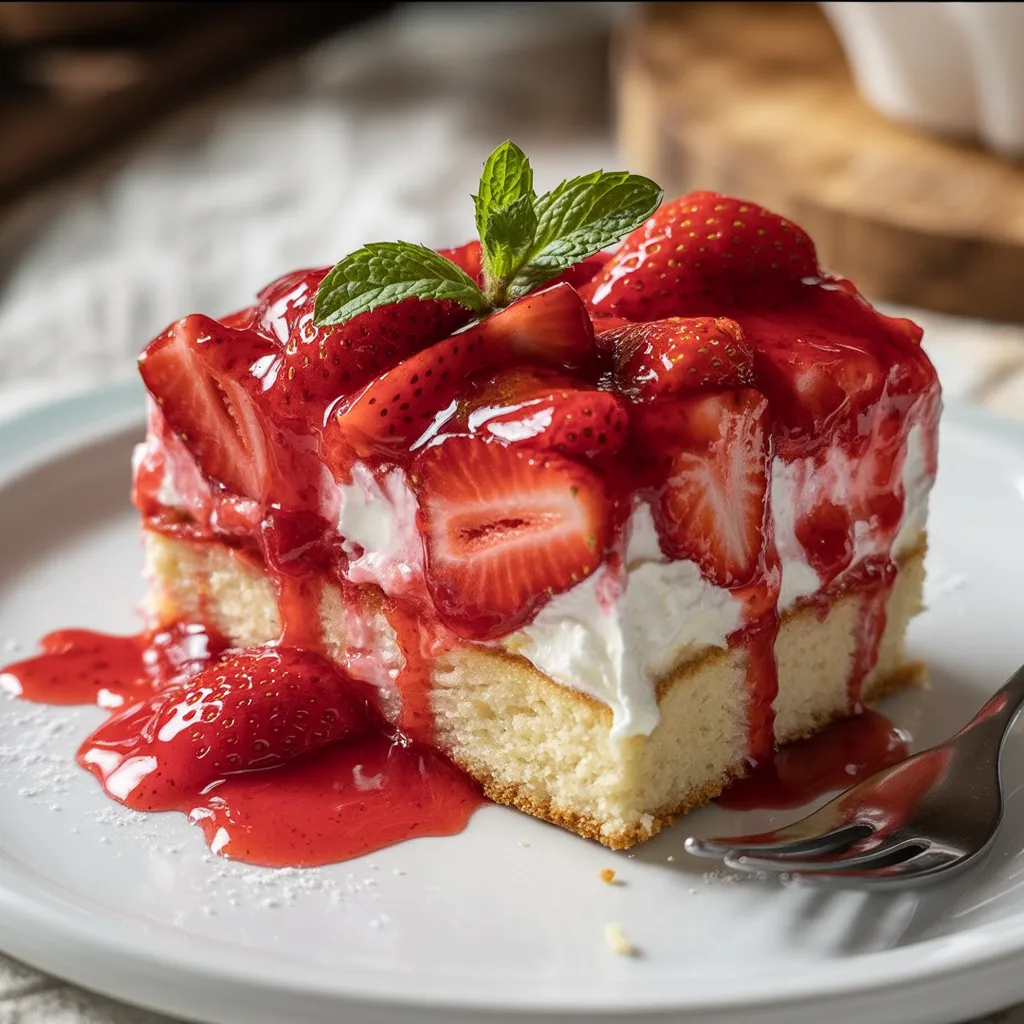
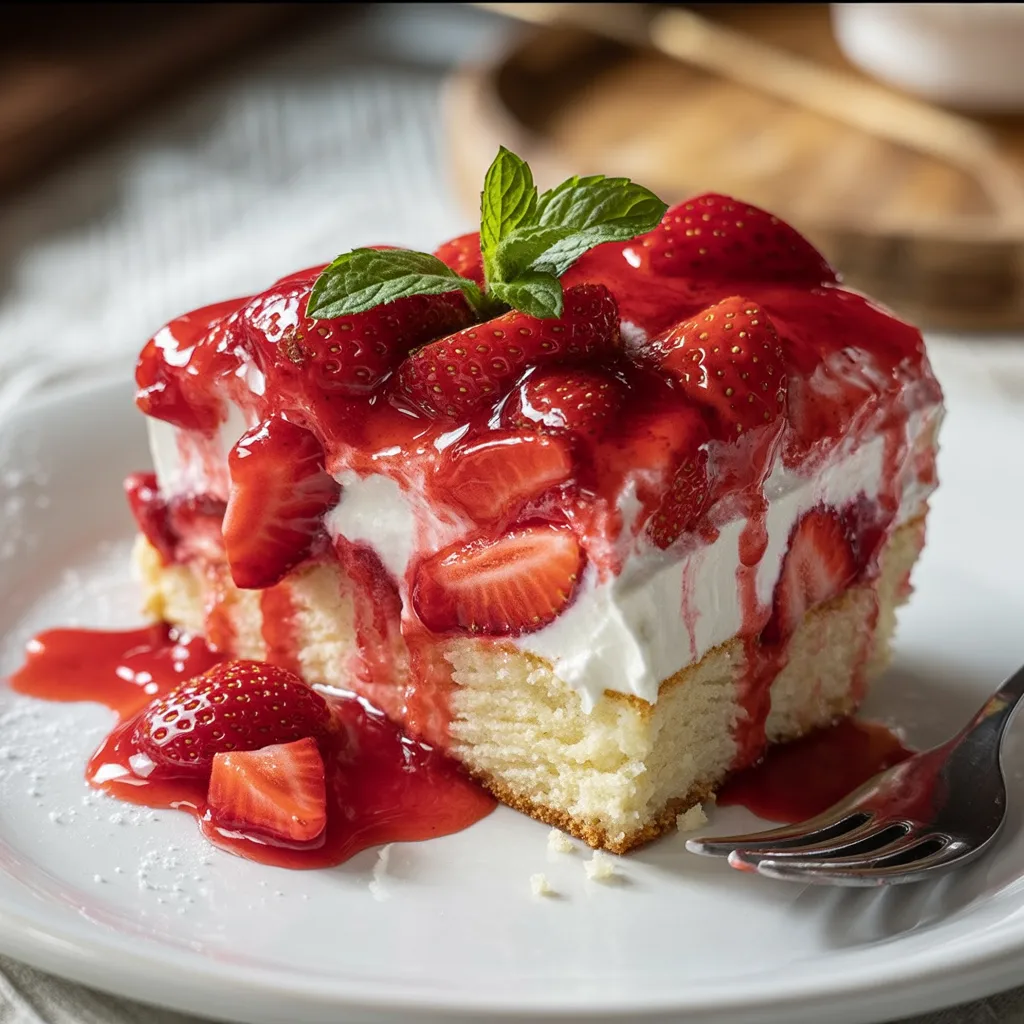
The center should look slightly gooey, not dry. The top will crack and ripple — that’s the signature earthquake look.
Step 7: Cool Before Serving
Let the cake cool for at least 20 minutes.
This helps the creamy pockets set and makes slicing easier.
Common Mistakes to Avoid
Even easy cakes have a few traps.
-
Overmixing the swirl – You want pockets, not blended batter.
-
Overbaking – Dry earthquake cake defeats the purpose. Slightly gooey is perfect.
-
Skipping pan grease – Trust me, cleanup becomes a nightmare.
-
Using cold cream cheese – It won’t blend smoothly. Let it soften first.
If your cake looks uneven, congratulations — you did it right.
Alternatives & Substitutions
Want to change things up? Go for it.
-
Swap strawberry cake mix for vanilla or chocolate.
-
Use raspberries instead of strawberries for a tangy twist.
-
Try dark chocolate chips for a richer flavor.
-
Skip coconut if you prefer a smoother texture.
-
Use dairy-free cream cheese and plant butter for a dairy-free version.
This recipe adapts easily, which makes it great for experimenting.
Helpful & Expert Tips
Small tricks make a big difference:
-
Use room-temperature ingredients for smoother mixing.
-
Add a handful of chopped nuts for crunch.
-
Slightly underbake for extra gooey texture.
-
Line the pan with parchment if you want easy lifting.
-
Chill leftovers briefly for clean slices.
A warm slice tastes amazing, but honestly, some people love it cold straight from the fridge. No judgment here.
Serving Suggestions
This cake shines on its own, but you can dress it up easily.
Serve it warm with:
-
Vanilla ice cream
-
Fresh sliced strawberries
-
A drizzle of chocolate sauce
-
Whipped cream
Hosting friends? Cut into small squares for a dessert tray. The colorful swirls make it Pinterest-ready without extra effort.
Storage and Reheating Tips
Good news — Strawberry Earthquake Cake stores beautifully.
-
Keep covered in the fridge for up to 4 days.
-
Store in an airtight container to prevent drying.
-
Freeze individual slices for up to 2 months.
To reheat, microwave a slice for 15–20 seconds.
Warm cake + melty cream cheese = instant comfort.
Strawberry Earthquake Cake
Ingredients
Equipment
Method
- Preheat oven to 350°F and grease baking dish.
- Prepare cake batter according to package directions.
- Pour batter into pan.
- Sprinkle strawberries and chocolate chips evenly.
- Beat cream cheese, butter, vanilla, and powdered sugar until smooth.
- Drop spoonfuls over batter and swirl lightly.
- Bake 40–45 minutes until edges set and center remains slightly soft.
- Cool before slicing.
Notes
- Do not overbake for best texture.
- Use room-temperature cream cheese.
- Works with dairy-free substitutes if needed.
Nutritional Facts (Approximate per serving)
- Calories: 340
- Carbohydrates: 42g
- Fat: 17g
- Protein: 4g
- Sugar: 28g
FAQs
Why is it called an earthquake cake?
The cake cracks and shifts while baking, creating uneven layers that look like tiny dessert earthquakes.
Can I use frozen strawberries?
Yes. Just thaw and drain them first to avoid extra moisture.
Should the center look soft?
Absolutely. A slightly gooey center gives the best texture.
Can I make it ahead of time?
Yes. Bake it a day earlier and refrigerate. The flavors deepen overnight.
Do I need a mixer?
A hand mixer helps, but you can mix by hand if your cream cheese is soft.
Can I reduce the sweetness?
You can lower the powdered sugar slightly or add fresh berries for balance.
Final Thoughts
Strawberry Earthquake Cake proves that desserts don’t need perfection to impress. In fact, the messy look makes it more fun. It’s rich, cozy, and packed with flavor in every bite.
This recipe fits real kitchens and real schedules. You mix a few ingredients, let the oven work its magic, and end up with a dessert everyone talks about. Not bad for something that barely requires effort, right?
Bake it once, and chances are it becomes your go-to comfort dessert. Just be ready — people will ask for the recipe.

